Migrating User Authentication from Supabase to Clerk.dev: A Step-by-Step Guide
This step-by-step guide simplifies the process of migrating user authentication from Supabase to Clerk.dev. With just a few steps, you will learn to prepare your Clerk.dev environment, extract user data from Supabase, and programmatically create users in Clerk.dev

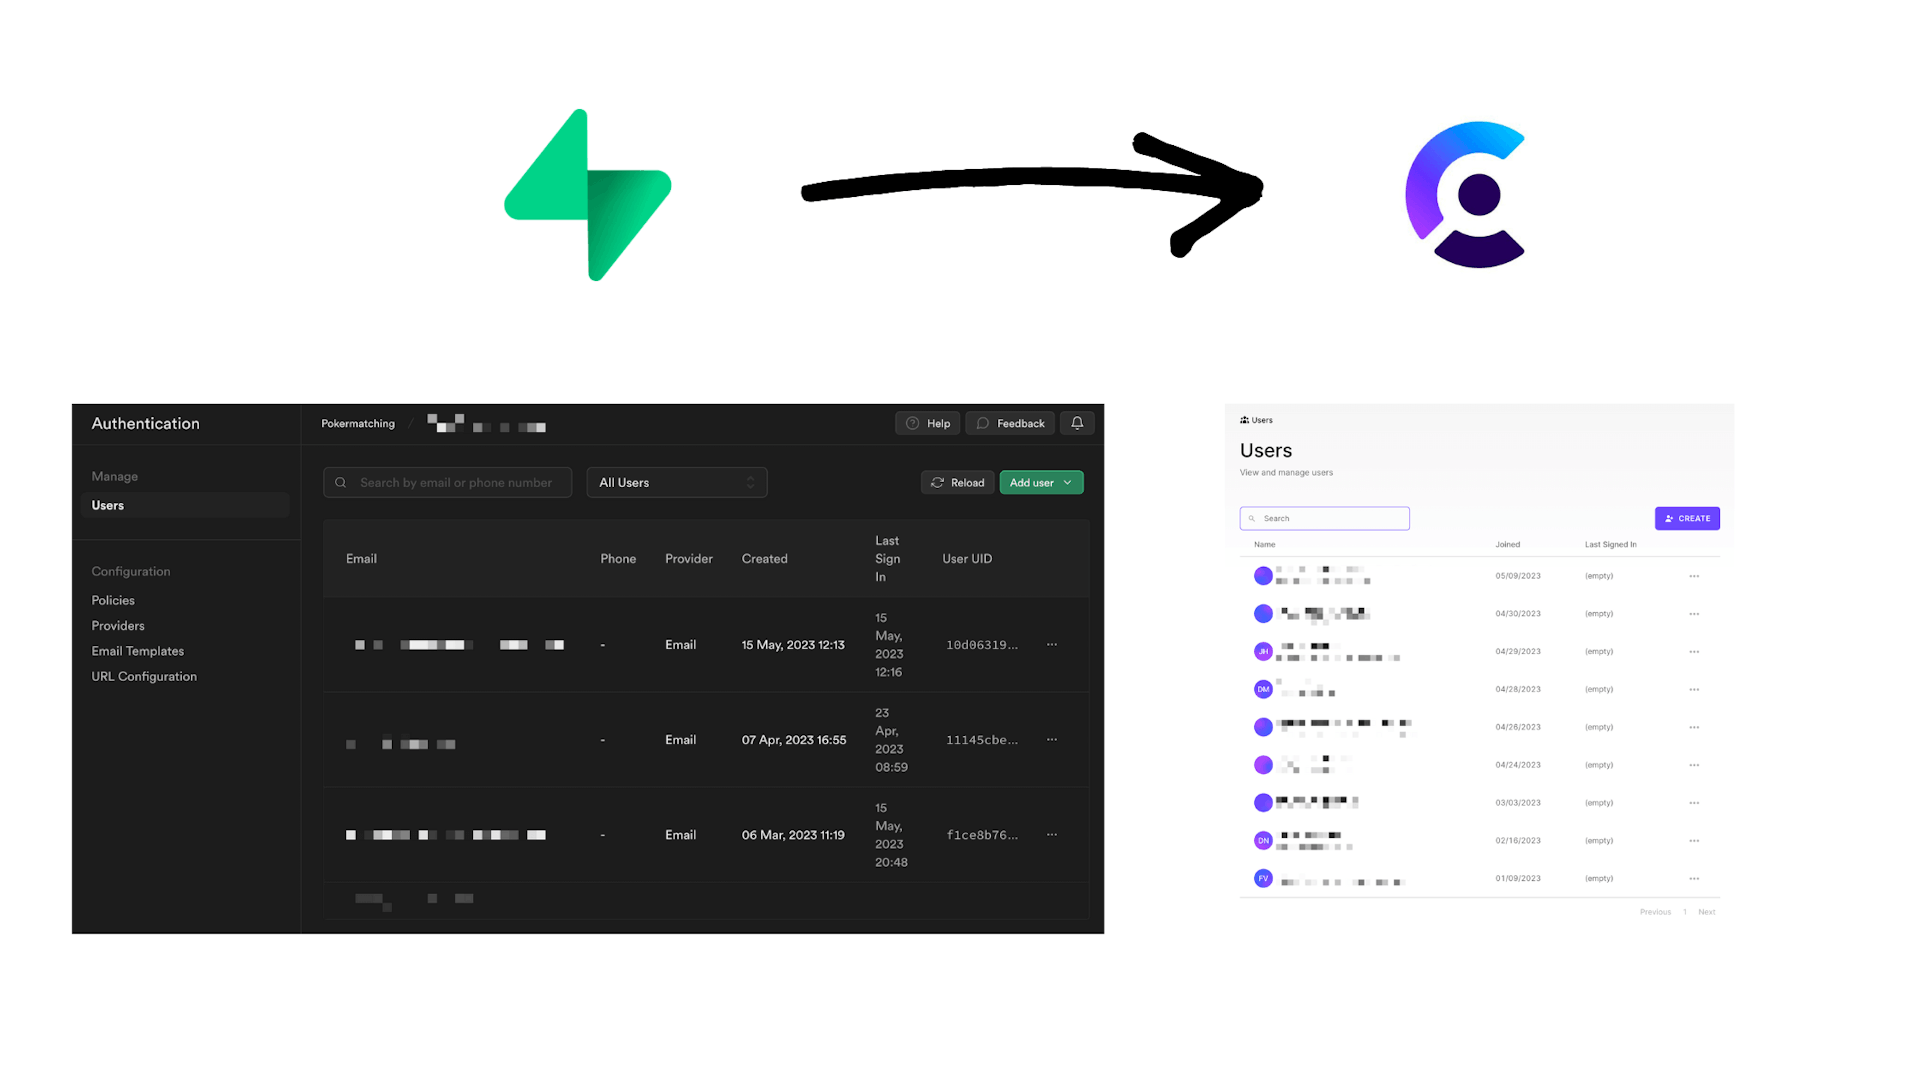
Do you find the idea of migrating auth from Supabase to Clerk.dev intimidating? Let me assure you, it's less complex than it seems. In this guide, we'll simplify the process and walk you through every step of the migration. With just a handful of slight code tweaks, you'll be on the fast track to integrating Clerk.dev. So, let's dive right in and demystify this process together with a comprehensive, easy-to-follow guide.
More interested on why I switched? Check out the post below:

Supabase vs. Clerk.dev: Comparative Analysis of Auth Tools
Dive into the Supabase vs Clerk.dev debate. Uncover insights about their performance, custom tokens, user impersonation, cost dynamics, and more. Which tool will reign supreme for you?
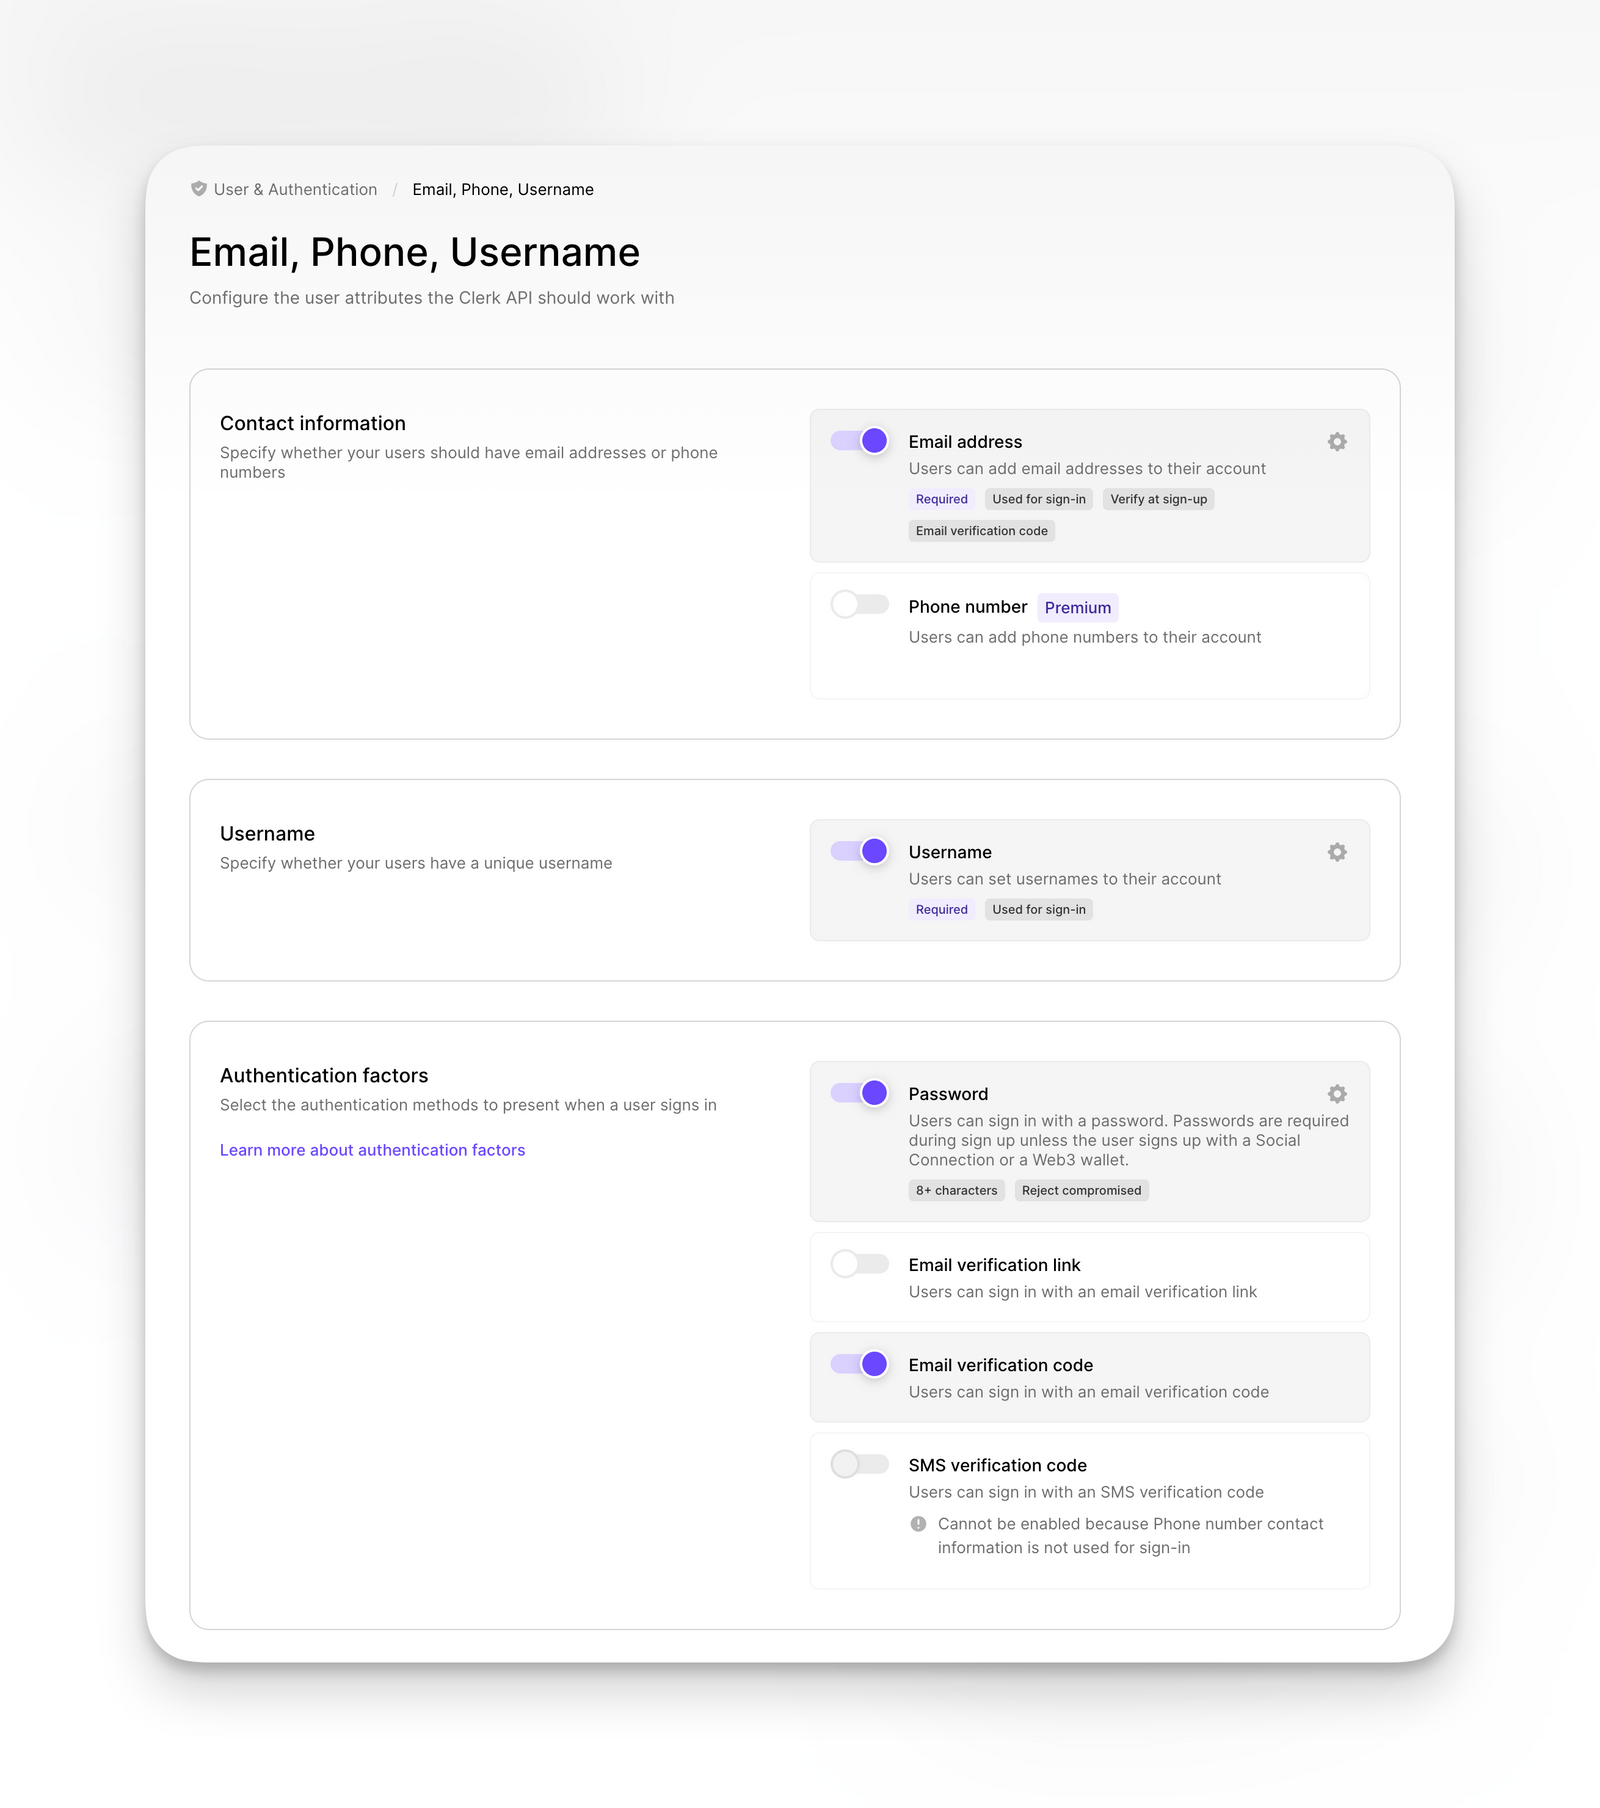
Step 1: Set Up Your Clerk.dev Account
Navigate to the User & Authentication settings and select Email, Phone, Username. This is the stage where you'll want to ensure that the settings mirror those of your existing Supabase account.
If you use a username make sure that you first toggle the setting off in clerk, as the import without setting a username will throw an error.
Step 2: Establishing Required Secrets as Environment Variables
In order to facilitate the creation of new users, we need to communicate with the Create new User Endpoint. This can be accomplished by using our Clerk API Keys:
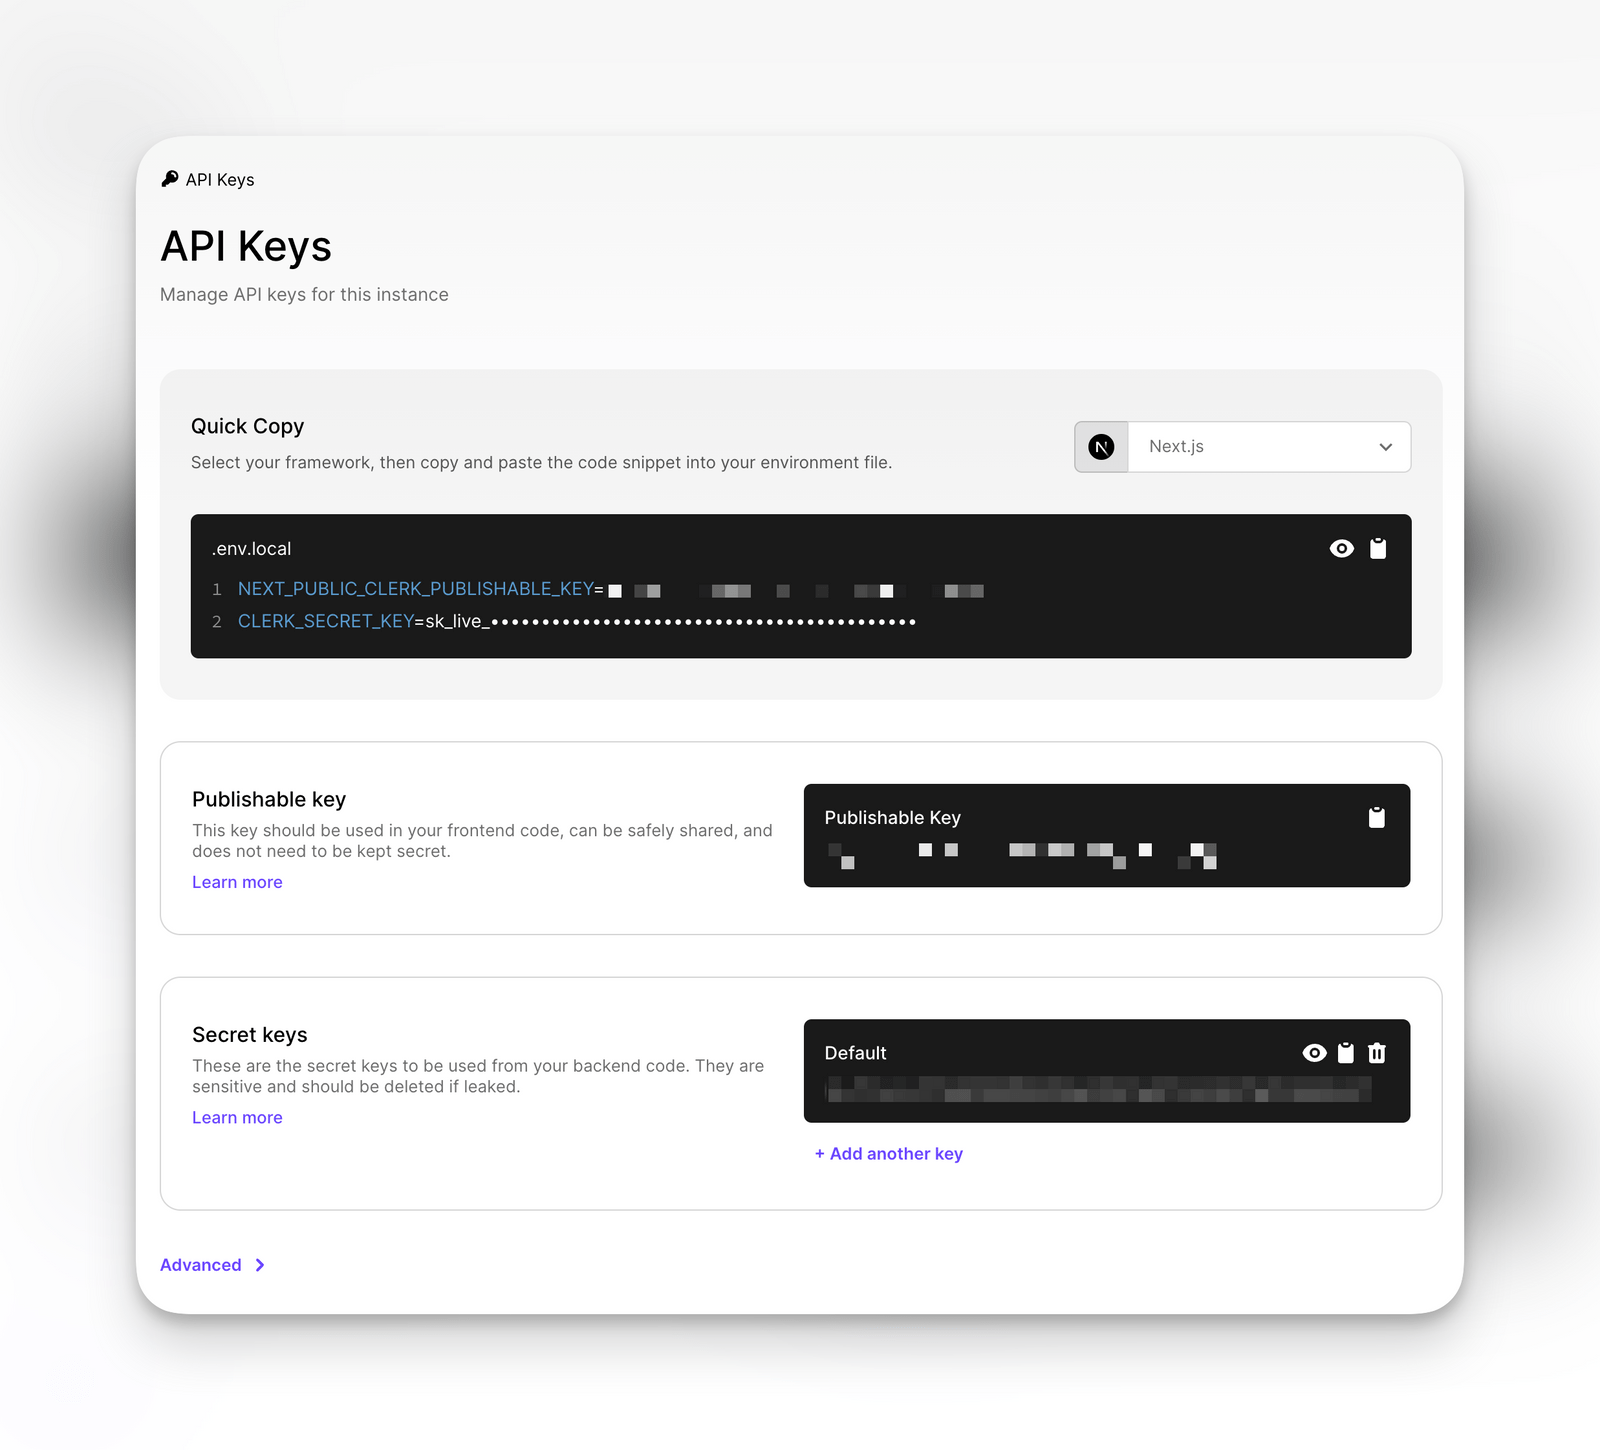
Next, we'll store the CLERK_SECRET_KEY as a Python environment variable within the .env file, making it accessible from our script.
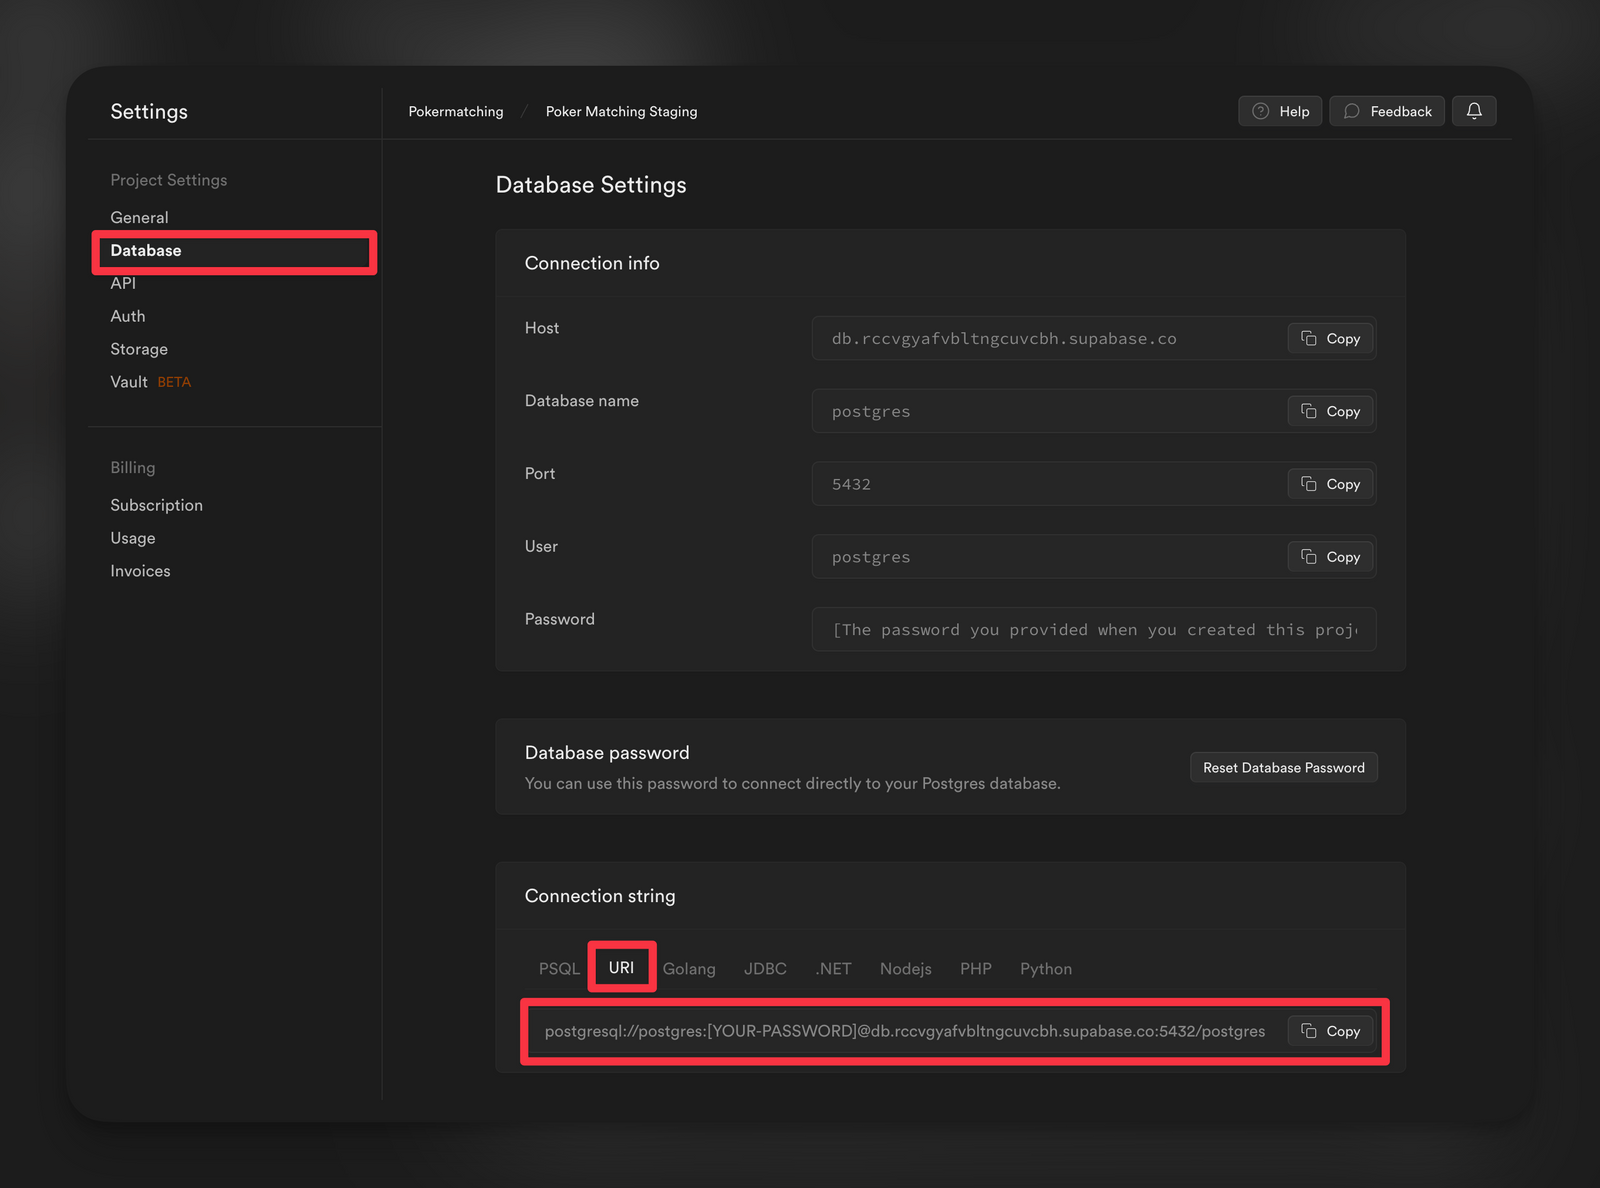
Lastly, we'll need to secure the database connection string from our existing Supabase instance. This can be achieved by storing it as an environment variable. You can retrieve this string from Project Settings > Database.
Our final .env file should look like this:
Step 3: Preparing the Migration Script
Subscribe to continue reading.
Already a reader?